In the realm of kitchen design, meticulous attention to detail is what transforms a standard space into a masterpiece. At Shaker Direct, nestled in the heart of Stroud, Gloucestershire, we understand that the beauty of a handmade Shaker kitchen lies not only in its craftsmanship but also in its finishing touches.
A Kitchen plinth, cornices, and pelmets are essential components that add both functionality and aesthetic appeal to your kitchen. This guide offers insights into their installation and highlights key considerations, whether you're undertaking a DIY project or overseeing professional installation.
Understanding Plinths, Cornices, and Pelmets
Plinths: Also known as kickboards, plinths are fitted at the base of your kitchen cabinets. They conceal the cabinet legs and prevent debris from accumulating underneath, providing a seamless transition between the cabinets and the floor.
Cornices: These are decorative mouldings installed at the top edge of wall cabinets. Cornices bridge the gap between the cabinets and the ceiling, offering a polished and cohesive look.
Pelmets: Positioned beneath wall cabinets, pelmets hide the underside of the cabinets and any installed lighting, contributing to a refined finish.
Installation Guide
Before commencing installation, ensure that all wall and base cabinets are securely fixed, and the flooring is complete. A clean workspace is essential to achieve the best results.
Fitting Plinths
Measure and Mark: Determine the length between the side panels of each base unit. Mark these measurements on the back of your plinths using a pencil and a try square for accuracy.
Cutting: Employ a fine-toothed saw or a jigsaw to make precise cuts along your markings. For corners, a mitre joint ensures a neat finish.
Securing: Attach the plinths to the cabinet legs using the appropriate clips or brackets provided by the manufacturer. Ensure they are flush with the cabinet fronts to maintain a uniform appearance.
Installing Cornices
Alignment: It's crucial to align the cornice with the cabinet doors rather than the carcass to avoid an unsightly step effect. This alignment ensures a seamless look.
Measuring and Cutting: Measure the length required and use a mitre saw to cut the cornice at a 45-degree angle for corners. Precision in cutting is vital for a professional finish.
Fixing: Secure the cornice from the top into the cabinet carcass. In tight spaces, a right-angled drill can be beneficial. Alternatively, screwing up from inside the cabinet is an option if top access is restricted.
Attaching Pelmets
Positioning: Similar to cornices, align the pelmet with the cabinet doors to ensure consistency.
Measuring and Cutting: Measure the necessary length and cut the pelmet accordingly, using mitre cuts for corners to achieve a clean joint.
Securing: Attach the pelmet to the underside of the wall cabinets, ensuring it conceals any lighting fixtures and complements the overall design.
Key Considerations During Professional Installation
When engaging professionals for installation, it's essential to be aware of common pitfalls:
Alignment Issues: Ensure that the installer aligns cornices and pelmets with the cabinet doors, not the carcass, to prevent a disjointed appearance.
Securing Methods: Discuss the preferred methods for attaching these elements. Whether using screws from the top, inside the cabinet, or employing brackets, the goal is a sturdy and inconspicuous installation.
Attention to Detail: Verify that all cuts, especially mitre joints, are precise and that the finishing touches uphold the high standards of your Shaker kitchen.
By focusing on these details, you can ensure that your kitchen not only exudes timeless elegance but also functions seamlessly. At Shaker Direct, we are committed to guiding you through every step, ensuring that your kitchen reflects the craftsmanship and quality synonymous with our name.
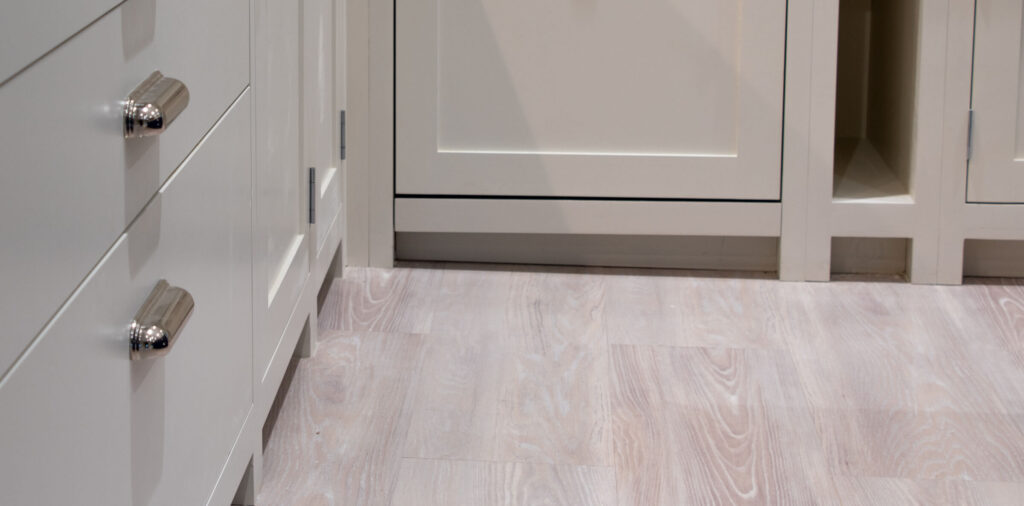
Shaker Direct offer two options for kitchen plinths. As standard, our kitchen cabinets will have a recessed plinth, showing off each unit's front legs. An upgrade option is to be able to have one continuous plinth all around the base of the units.
They offer slightly different looks and both are great options. It is completely up to the owner of the home to determine which is the best option for them. The first image below shows a kitchen without the additional kitchen plinth; the second shows the kitchen plinth added.
For a visual demonstration of these installation techniques, you might find this video, from Wickes, helpful...
Stylish, affordable luxury from Shaker Direct.
Get a quote for a new kitchen based on current plans or with only the dimensions.
Pay a small deposit to book time with our designers.
We'll work with you to ensure your design is right for you and your space.